
Even with a reliable moving company in Chesterfield, MO, to help you, moving always comes with its challenges. From updating your address with government agencies and financial institutions to the emotional stress of saying goodbye to friends and family, once moving day ends, few people say, “Let’s do it again sometime!”
Still, some tasks can be more challenging than others when planning a move. Moving a washing machine, for example, is definitely not everyone’s idea of a simple weekend project.

10 Fundamental Steps When Packing and Moving a Washing Machine
1. Gather Necessary Supplies
Washing machines are large, heavy, and awkwardly shaped. Their square format makes it difficult to grip securely with your arms without overextending, making maintaining a solid, safe grip nearly impossible.
Having the right equipment is essential for overcoming these physical limitations. Supplies such as an appliance dolly, heavy-duty moving straps, and furniture sliders can help you secure and transport a washing machine with much less effort, making the entire process smoother while significantly reducing the risk of injury or damage.
2. Clean the Machine
Before moving, run a complete rinse or spin cycle with no laundry inside to thoroughly clean the washing machine and remove any remaining water from the system. Take time to also clean the detergent drawer and wipe down the exterior surfaces. A clean machine is lighter to move and less likely to create a mess during transportation.
3. Disconnect Water and Power Supply
Safety comes first. Unplug the machine from the electrical outlet and shut off the water supply valves connected to the washer. Carefully disconnect both the hot and cold water hoses from the back of the machine using a wrench or pliers.
Be prepared for some water spillage during this step. You can manage this by placing a bucket or absorbent towels underneath the hoses to catch any remaining water that drains out.
4. Drain Any Remaining Water
Even after a rinse cycle, some water may still be trapped in the hoses or drum. To prevent leaks during the move, carefully lower the drainage hose into a bucket and allow any remaining water to drain completely. Tilt the washer slightly to help remove residual water from the drum cavity.
5. Secure the Drum
Securing the drum is one of the most critical steps in moving a washing machine. The internal drum is suspended on springs and can be easily damaged if it moves around during transport. If you still have the original transit bolts, now’s the time to reinstall them to lock the drum in place.
If you don’t have the original transit bolts, contact the manufacturer directly or consider purchasing a compatible set online that matches your specific washing machine model.
6. Protect the Exterior
Wrap the washing machine in moving blankets or pads to protect it from scratches and dents. Secure the padding with packing tape or moving straps. This preserves the appliance’s appearance and prevents it from damaging walls, floors, or door frames as you move it through tight spaces.
7. Learn Proper Dolly Transportation Techniques
To safely lift and move the washer with a dolly, slide it under the washer from the side or back (never from the front where the door is located). Tilt the appliance back slowly and secure it with straps. When going downstairs or over thresholds, take it slow and keep the washing machine tilted slightly backward to maintain proper balance and control.
8. Protect Floors and Walls
Washing machines are heavy and can easily scratch floors or damage walls during the move. Use cardboard, old rugs, or plastic sliders under the washer, especially when moving it across hardwood or tile.
9. Reinstall and Test at the New Location
Once the washer is safely in its new location, remove the transit bolts (if installed) before using the machine again. Reconnect the water supply hoses—ensure they’re attached tightly to avoid leaks—and plug the machine into a grounded outlet.
Then turn the water valves back on and run a short test cycle to ensure everything is working correctly. Check for any leaks around the hoses or drainage.
10. Don’t Rush
Lastly, take your time. Rushing can lead to accidents, injuries, or damage to the appliance. If the task feels overwhelming or unsafe, consider hiring professional movers who are experienced with large appliances.
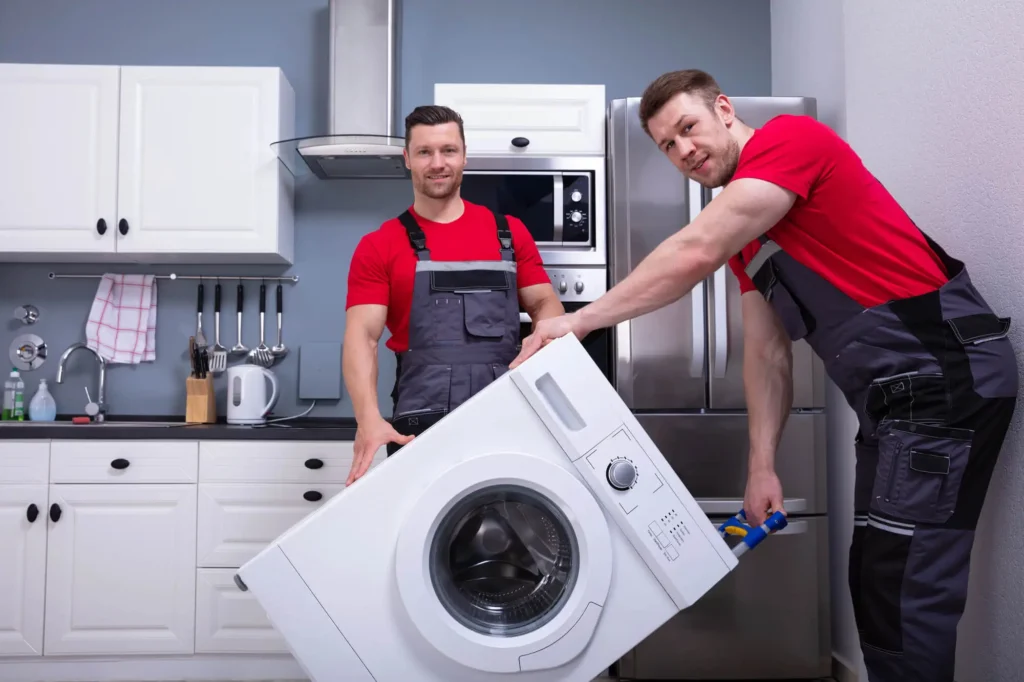
Say Goodbye to Troubles—Find a Moving Company in Chesterfield, MO, to Move Your Appliances
Moving a washing machine can be difficult, especially given its weight, bulkiness, and potential for damage to both the appliance and your home. To prevent accidents and ensure a successful move, it’s critical to approach the task with the proper tools, preparation, and techniques.
If all of this detailed planning feels overwhelming, Pink Zebra Moving is here to help. There is no reason to go through a move on your own. Find a location near you and contact us to learn how we can help make your relocation easier!